Sliplining Pipe: How It Works and Why It’s Beneficial
Although it’s one of the oldest methods in the industry, sliplining is still a popular choice for underground pipe rehabilitation projects. Let’s take a closer look into what it is, how it works, and why it’s beneficial for a number of specialty construction applications.
What Is Sliplining?
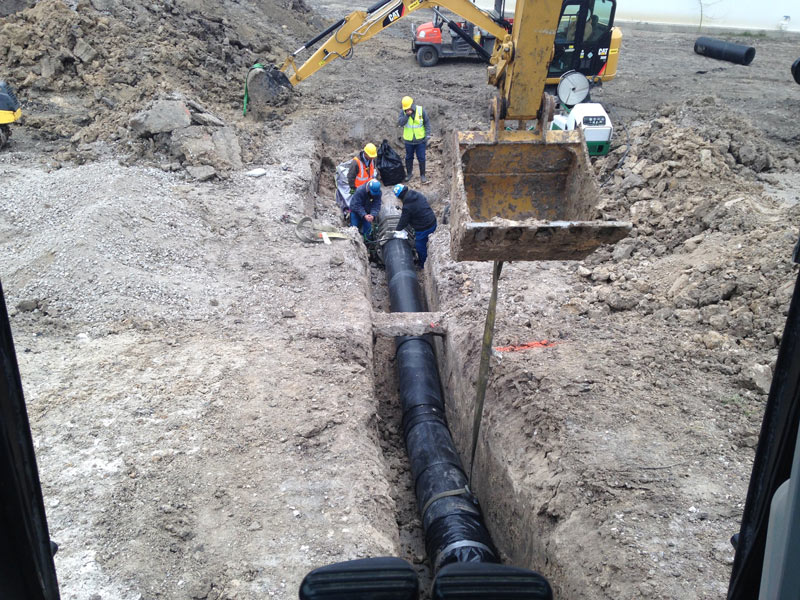
Sliplining is a trenchless underground pipe rehabilitation technique that involves installing a pipe of a slightly smaller diameter into a larger “host” pipe, then grouting the space between the two and sealing the ends. This process helps to restore the structural integrity of the existing pipeline, and helps to prevent the need for a more costly, time-consuming, and labor-intensive pipe replacement.
6 Steps of the Sliplining Process
The sliplining process can vary depending on a number of factors, from field conditions to pipe materials and host pipe conditions. However, it most commonly follows a six-step process, which we’ll outline below.
1. Inspect the Host Pipe
The first, and arguably most critical step, of the sliplining process is to inspect the condition of the host pipe. During the inspection, you’ll assess the level of pipe deterioration, which is critical in determining how feasible the sliplining procedure may, or may not, be. In some cases, a host pipe inspection is done manually, but the preferred method is to use remote controlled closed circuit television (CCTV) equipment to inspect the pipe. High definition cameras inside the pipe allow you to inspect the existing pipelines safely.
2. Clean Out the Host Pipe
After you’re done with inspection and you’ve determined that sliplining is a feasible solution, you need to thoroughly clean and clear out the host pipe. This prepares the pipe for lining installation and can be accomplished using a variety of tools and methods. Some of the most common pieces of cleaning equipment include plugs, cleaning buckets, water jets, and pipeline pigs.
3. Join the Carrier Pipe(s)
Before you can install a carrier pipe into the host pipe, you’ll have to join various sections together to reach your desired length. These sections are usually welded together using butt fusion technology. Bell and spigot pipe can also be used, and the joints can be pushed together during installation.
4. Access the Host Pipe
As a final step before installation can begin, you need to access the host pipe via two small excavations, commonly known as the entry and exit pits. The areas of these excavations serve as the beginning and end of your liner installation.
5. Install the Carrier Pipe
Once you’ve done everything to prepare both pipes, you’re ready to install! You can install the carrier pipe by either pushing or pulling it through the host pipe until it reaches its intended placement. Then, in some cases, a 24-hour resting period is required following the installation. If necessary, you can use one of several ways to restore lateral pipe connections.
6. Restore the Terminal Connections and Grout the Annular Space
The final step of sliplining is to restore connections at the terminal ends of the carrier pipe and grout the annular space surrounding it. Not only does this help stabilize the new liner, but it also helps ensure that the pipe doesn’t experience any substance leakage that could potentially harm the environment.
Once your newly lined pipe is fully grouted and stabilized, you’ve completed the sliplining process. However, it’s best to keep an eye on how the new parts are performing for a couple of days, just to make sure everything still goes as planned.
4 Key Advantages of Sliplining
The sliplining process dates all the way back to the 1940s, but it’s stuck around for good reason! And with newer systems and technologies available each year, the process has only become more efficient over time.
If you’re in need of an underground pipe rehabilitation, sliplining is one of your best options. Here are a few reasons why:
- Affordable – When compared to a complete pipe replacement, the cost of a sliplining procedure is considerably less expensive.
- Efficient – With the help of an experienced technician and innovative technology, sliplining is a fast and simple process — helping you ensure your operations are back up and running with minimal downtime and environmental concern.
- Less excavation – Sliplining involves much less excavation than a full pipe replacement. This means you’ll have to worry about far less disruption, waste, and cleanup.
- Long-lasting performance – Sliplining is guaranteed to repair any deteriorating pipes and restore them to full capacity, helping you remove any risks of corrosion or leakage for years to come.
Want to learn more about our sliplining capabilities at US FUSION? Check out our downloadable brochure!
Need to rehabilitate your underground piping system? Choose US FUSION. With decades of experience in pipe rehabilitation, our team has a long history of applying the latest technologies, construction methods, and safety practices within our operations. Complete your project with us and discover why we’re the best choice in the industry. Request your free quote today.
