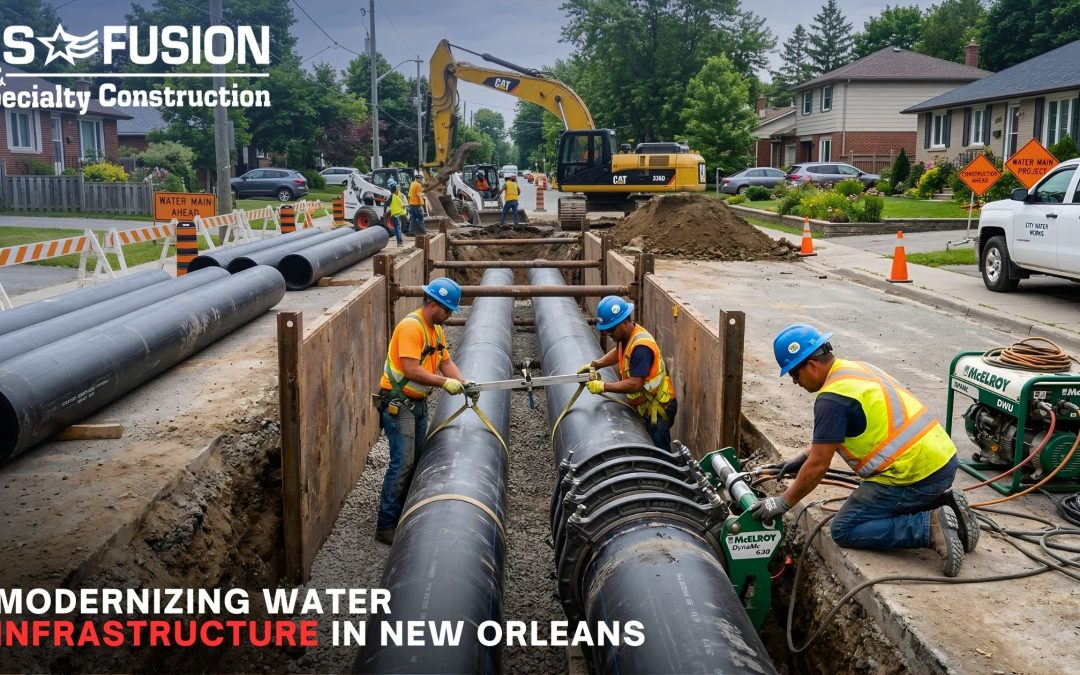
Underground infrastructure is designed to last for decades—but corrosion remains one of the leading causes of premature failure in buried and submerged metal systems.
Soil chemistry, moisture, stray electrical currents, and dissimilar metals all contribute to ongoing corrosion risk below grade.
That’s where cathodic corrosion protection comes in.
Cathodic protection is a proven, industry-standard method used worldwide to slow corrosion, extend asset life, and reduce costly repairs for critical infrastructure. From buried pipelines and storage tanks to transmission systems and transition points between materials, cathodic protection plays a vital role in long-term system reliability.
In this guide, we’ll break down:
- What cathodic corrosion protection is
- How cathodic protection systems work
- The two primary system types and when each is used
- How cathodic protection integrates with modern piping systems, coatings, and fused HDPE infrastructure
For engineers and asset managers focused on durability and lifecycle performance, understanding cathodic protection is essential—not optional.
What Is Cathodic Corrosion Protection?
Cathodic corrosion protection is a method used to prevent metal loss by making the protected structure the cathode of an electrochemical cell.
In simple terms, cathodic protection stops corrosion by redirecting the electrochemical reactions that cause metal to deteriorate in underground or submerged environments.
Quick Answer:
Cathodic corrosion protection is a technique that prevents corrosion by supplying an electrical current that counteracts the natural corrosion process on metal surfaces.
Why Underground Infrastructure Is Especially Vulnerable
When metal structures are buried or submerged, they are constantly exposed to electrolytes such as soil moisture or water. These environments enable electrochemical reactions that slowly consume metal over time. Left unprotected, this can lead to:
- Wall thinning and leaks
- Structural failure
- Environmental damage
- Unplanned outages and repairs
Cathodic protection works by interrupting these corrosion reactions, dramatically slowing the rate of metal loss and extending service life—often by decades.
For infrastructure systems where reliability and long-term performance matter, cathodic corrosion protection is a foundational defense strategy.
How Does Cathodic Protection Work?
To understand why cathodic corrosion protection is so effective, it helps to know how corrosion happens in the first place—and how cathodic protection interrupts that process.
The Basics of the Corrosion Process:
Corrosion is an electrochemical reaction. When metal is buried underground or submerged in water, it naturally reacts with its surrounding environment. This creates areas on the metal surface where electrons are lost (anodes) and areas where electrons are gained (cathodes).
Over time, this electron loss causes:
- Metal dissolution
- Pitting and wall thinning
- Eventual leaks or structural failure
In underground infrastructure, factors like soil resistivity, moisture levels, oxygen availability, and stray electrical currents can accelerate this process.
How Cathodic Protection Stops Corrosion:
Cathodic protection prevents the protected metal from acting as an anode.
Instead of allowing the structure itself to lose metal, cathodic protection systems supply an external source of electrons. This forces the entire structure to behave as a cathode, effectively halting the corrosion reaction.
In practical terms, cathodic protection:
- Redirects corrosive electrical currents away from the structure
- Eliminates anodic areas on the protected metal
- Slows metal loss to negligible levels when properly designed and maintained
The Role of Anodes and Electrical Current:
Every cathodic corrosion protection system relies on anodes to do the work corrosion would otherwise do to the structure.
Depending on the system type:
- Anodes may sacrifice themselves to protect the structure
- Or an external power source may supply continuous current to maintain protection
In both cases, the result is the same: corrosion is redirected away from critical infrastructure components and into a controlled, replaceable element of the system.
For buried pipelines, tanks, and transition points (especially where metallic components connect to non-metallic systems like HDPE), this controlled protection is critical for long-term performance and safety.
What Systems Benefit the Most from Cathodic Corrosion Protection?
Cathodic corrosion protection is not used universally, but for certain underground and submerged systems, it is a critical design element.
These are typically assets with high corrosion risk, limited access for repairs, and long-term reliability as an essential requirement.
Below are the systems that benefit most from properly designed cathodic protection.
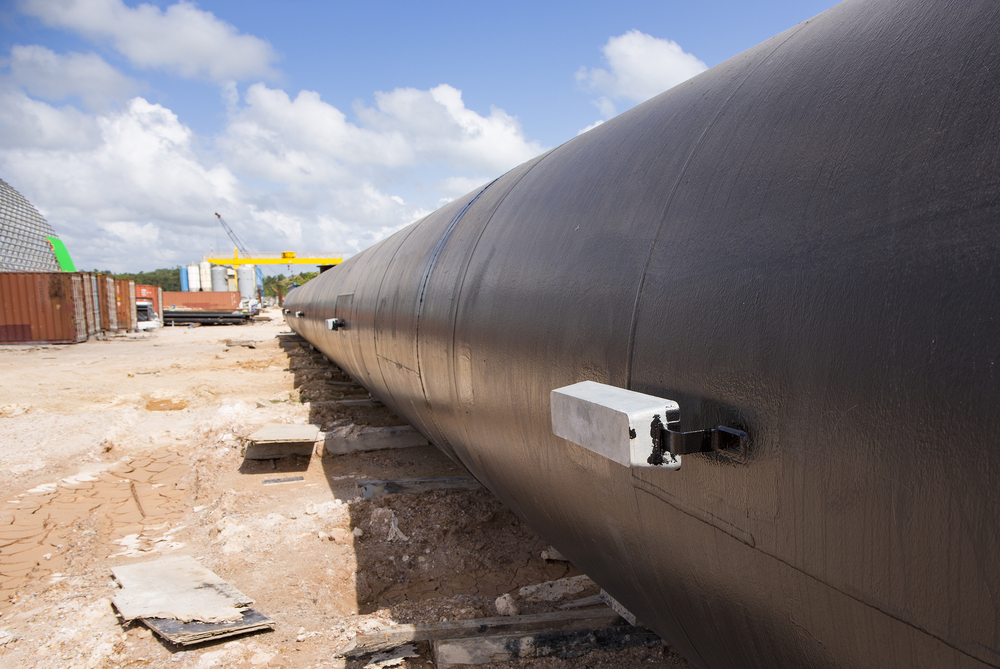
Buried Pipelines:
Buried pipelines are among the most common applications for cathodic corrosion protection. This includes:
- Water and wastewater pipelines
- Natural gas distribution and transmission lines
- Industrial process piping
- Chemical and utility pipelines
Because these systems are in constant contact with soil electrolytes, unprotected metal pipelines are highly susceptible to corrosion-related failures. Cathodic protection helps extend service life, reduce leaks, and minimize unplanned shutdowns.
Underground Storage Tanks:
Steel underground storage tanks (USTs) are particularly vulnerable to corrosion due to continuous soil contact and limited inspection access. Cathodic protection is often required by regulation for fuel tanks and other hazardous storage systems to:
- Prevent tank wall perforation
- Reduce environmental contamination risk
- Extend tank lifespan
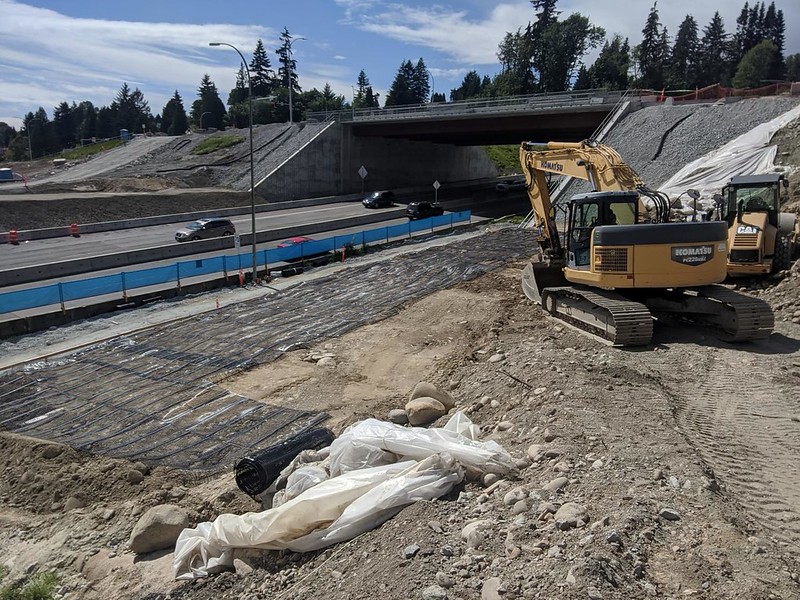
Transmission and Distribution Infrastructure:
Large-scale transmission and distribution networks (such as municipal water systems, energy infrastructure, and industrial utility networks) rely on cathodic protection to maintain system integrity across long distances.
These systems often include:
- Multiple soil conditions
- Varying operating environments
- Numerous connection points and appurtenances
Cathodic protection provides a consistent defense against corrosion across the entire network.
Marine and Submerged Structures:
Structures exposed to water environments, including:
- Intake and outfall piping
- Submerged pipelines
- Coastal or marine infrastructure
benefit significantly from cathodic corrosion protection. Water acts as an efficient electrolyte, accelerating corrosion without protection.
Transition Points Between Materials:
One of the most critical—and often overlooked—applications of cathodic protection is at transition points between different materials, such as:
- Steel to HDPE
- Ductile iron to carbon steel
- Metallic piping connected to fused HDPE systems
These transition zones are prone to accelerated corrosion due to galvanic effects and changes in electrical continuity. Cathodic protection helps stabilize these interfaces, reducing corrosion risk at flanges, mechanical joints, and other connection points.
For infrastructure systems incorporating HDPE, fused piping, and metallic components, cathodic protection supports the same goal US FUSION prioritizes: long-term system reliability with fewer failure points.
Two Types of Cathodic Corrosion Protection Systems
There are two primary approaches to cathodic corrosion protection used in underground infrastructure. While both achieve the same goal—preventing metal loss—their design, complexity, and ideal applications differ.
Understanding the differences helps engineers and asset managers select the right system for their specific project conditions.
1. Sacrificial Anode Systems
Sacrificial anode systems protect metal structures by intentionally attaching a more reactive metal, called a sacrificial anode, to the structure being protected.
How Sacrificial Anodes Work:
The anode material corrodes instead of the pipeline or tank. As the sacrificial anode degrades, it releases electrons that flow to the protected structure, keeping it cathodic and preventing corrosion.
Common sacrificial anode materials include:
Each material is selected based on soil resistivity, environmental conditions, and system requirements.
Best-Use Scenarios:
Sacrificial anode systems are typically used for:
- Short or isolated pipeline segments
- Smaller underground structures
- Low-resistivity soils
- Systems with minimal power access
They are often chosen for their simplicity and reliability in less complex environments.
Advantages:
- Simple design and installation
- No external power source required
- Low upfront cost
Limitations:
- Limited output for large or complex systems
- Anodes must be periodically replaced
- Less adjustable once installed
2. Impressed Current Systems
Impressed-current cathodic protection (ICCP) systems use an external power source to continuously supply electrical current to the protected structure.
How Impressed Current Systems Work:
An external power supply (typically a rectifier) converts AC power to DC current. This current is delivered to inert anodes installed in the ground, which then distribute protective current to the structure.
Unlike sacrificial anodes, anodes in impressed current systems are not consumed at the same rate, allowing for higher, more controllable output.
Best-Use Scenarios:
Impressed current systems are ideal for:
- Long pipelines and transmission networks
- Large or complex infrastructure systems
- High-resistivity soils
- Facilities requiring adjustable protection levels
They are commonly used in municipal, industrial, and energy infrastructure projects.
Advantages:
- Higher current capacity
- Adjustable protection levels
- Longer service life for anodes
Limitations:
- Higher initial cost
- Requires ongoing monitoring and power supply
- More complex design and installation
Sacrificial vs. Impressed Current: At-a-Glance Comparison
|
Factor
|
Sacrificial Anode
|
Impressed Current
|
|
Power Source
|
None
|
External (rectifier)
|
|
System Complexity
|
Low
|
Moderate to high
|
|
Upfront Cost
|
Lower
|
Higher
|
|
Maintenance
|
Anode replacement
|
Monitoring and adjustments
|
|
Ideal Scale
|
Small/isolated systems
|
Large/complex networks
|
Selecting the right cathodic corrosion protection system depends on project size, soil conditions, accessibility, and long-term performance goals.
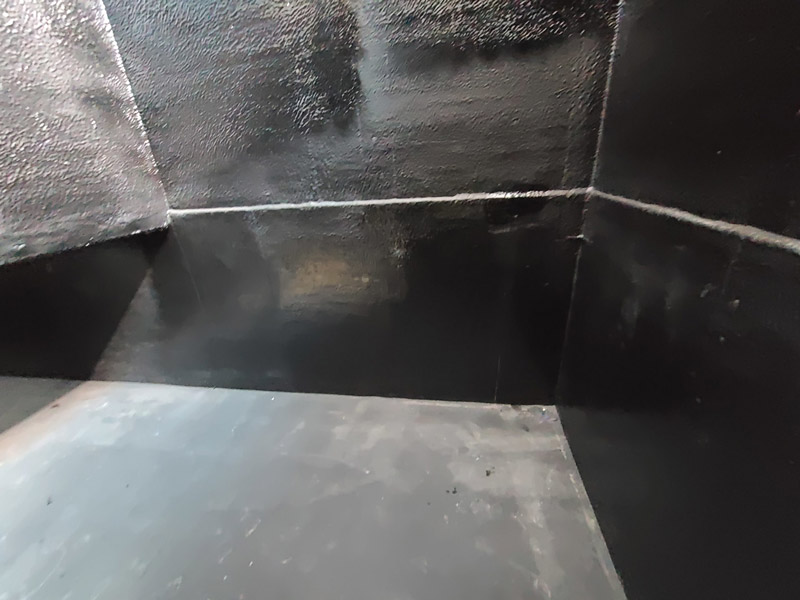
How Cathodic Protection Integrates with Coatings and Linings
Cathodic corrosion protection is most effective when it is part of a layered corrosion control strategy.
While cathodic protection plays a critical role in stopping electrochemical reactions, it is not intended to function as a standalone solution.
Instead, it works in tandem with protective coatings and linings to maximize system lifespan and performance.
Why Cathodic Protection Alone Is Not Enough:
Coatings and linings provide the first line of defense by physically isolating metal surfaces from corrosive environments. However, no coating system is perfect. Over time, coatings can develop:
- Holidays (small defects or voids)
- Mechanical damage during installation
- Degradation due to soil conditions or aging
At these defect points, corrosion can initiate rapidly if left unprotected.
Cathodic protection addresses this risk by protecting exposed metal at coating defects—preventing localized corrosion from spreading and causing failure.
How Cathodic Protection Complements Coatings:
When coatings and cathodic protection are used together:
- The coating reduces the total current demand on the cathodic protection system
- Cathodic protection safeguards areas where the coating is compromised
- Overall corrosion rates are significantly reduced
This combination allows systems to achieve longer service lives with lower maintenance requirements.
Managing Coating Defects and Holidays:
One of the key advantages of cathodic corrosion protection is its ability to protect metal at coating holidays without requiring immediate excavation or repair. Protective current naturally concentrates at exposed metal, mitigating corrosion until maintenance can be scheduled.
This is especially valuable for buried infrastructure where access is limited, and repairs are disruptive or costly.
Compatibility with Buried Piping Materials:
Cathodic protection is commonly used alongside:
- Steel and carbon steel piping
- Ductile iron systems
- Metallic valves, fittings, and appurtenances
In modern infrastructure, these metallic components are often integrated with non-metallic systems such as HDPE piping. Cathodic protection helps ensure metallic sections and connection points remain protected—supporting overall system reliability even in mixed-material installations.
How Cathodic Protection Integrates with Modern Piping Systems
Modern underground infrastructure rarely relies on a single material. Today’s systems often combine metallic piping, valves, and appurtenances with non-metallic materials such as HDPE.
While these hybrid systems offer performance and installation advantages, they also introduce new corrosion considerations—especially at connection and transition points.
Cathodic corrosion protection plays a key role in maintaining reliability across these mixed-material systems.
Use Alongside Metallic Components:
Cathodic protection remains essential for metallic elements within modern piping systems, including:
- Carbon steel pipelines
- Ductile iron piping
- Steel valves, fittings, and flanges
Even when portions of a system are non-metallic, these metallic components are still exposed to soil electrolytes and corrosion risk. Cathodic protection ensures these critical elements remain protected throughout the system’s service life.
Protection at Material Transition Points:
Transition points between metal and non-metal piping are some of the most vulnerable locations in underground infrastructure. Examples include:
- Steel to HDPE transitions
- Ductile iron to fused polyethylene systems
- Metallic flanges connecting to HDPE piping
These interfaces can experience accelerated corrosion due to changes in electrical continuity and galvanic effects. Cathodic protection helps stabilize these areas, reducing corrosion-related failures where different materials meet.
Relevance in Systems Incorporating HDPE and Fused Piping:
HDPE piping itself does not corrode, which is why fused HDPE systems are increasingly used for long-term reliability. However, systems rarely consist solely of HDPE. Valves, pumps, and mechanical connections are still typically made of metal.
Cathodic protection ensures these metallic components are not the weak link in an otherwise corrosion-resistant system. This aligns directly with US FUSION’s focus on:
- Minimizing failure points
- Supporting long-term infrastructure performance
- Reducing maintenance and lifecycle costs
Reducing Failures at Flanged and Mechanical Connections:
Flanged and mechanical connections are often required for access, equipment integration, or system transitions. These locations are also common failure points if corrosion is not properly managed.
Frequently Asked Questions About Cathodic Corrosion Protection
- What is cathodic corrosion protection used for?
- Cathodic corrosion protection is used to prevent metal loss in buried or submerged infrastructure by stopping electrochemical corrosion reactions. It is commonly applied to pipelines, storage tanks, transmission systems, and metallic components in underground environments.
- How long does a cathodic protection system last?
- The lifespan of a cathodic protection system depends on the system type and design. Sacrificial anode systems typically last 10–25 years, depending on anode size and soil conditions. Impressed current systems can operate for several decades with proper monitoring and maintenance.
- Is cathodic protection required for all buried pipelines?
- No. Cathodic protection is generally required for metallic pipelines exposed to corrosive environments, particularly where long service life and regulatory compliance are priorities. Non-metallic piping, such as HDPE, does not require cathodic protection—but metallic components connected to those systems often do.
- Can cathodic protection be added to existing infrastructure?
- Yes. Cathodic protection systems can be retrofitted to existing pipelines and underground assets. This is commonly done to extend service life, address corrosion issues, or meet updated regulatory requirements without replacing the entire system.
US FUSION: Protecting Underground Infrastructure for the Long Term
Corrosion is inevitable—but failure doesn’t have to be.
Cathodic corrosion protection is a proven, long-term strategy for preserving underground and submerged infrastructure. When properly designed and integrated with coatings, linings, and modern piping systems, it significantly reduces corrosion-related failures, extends asset life, and lowers total lifecycle costs.
As infrastructure continues to evolve with increased use of fused HDPE and mixed-material systems, corrosion control strategies must evolve as well. Cathodic protection ensures that metallic components and connection points remain reliable within these modern designs.
At US FUSION, long-term system performance is the priority. By supporting infrastructure designs that minimize failure points and extend service life, cathodic corrosion protection aligns with the same goal that drives fused piping solutions: building systems that last.